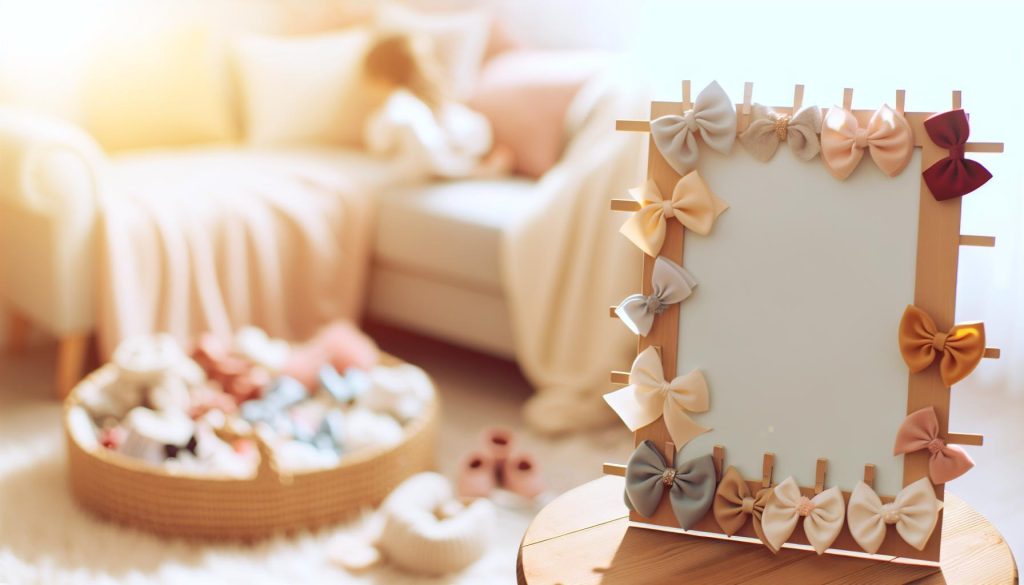

Are your little one’s hair accessories taking over your space? Creating a DIY bow holder not only helps organize these adorable items but also adds a decorative touch to any room. This simple project makes it easy to keep bows and headbands tidy, ensuring swift access and endless style for your child’s outfits.
Why a DIY Bow Holder is Perfect for Your Little One’s Accessories
Easy Organization for Adorable Accessories
Creating a DIY bow holder is not just a fun craft project; it’s an essential solution for keeping your little one’s accessories organized and accessible. With countless hair bows, headbands, and clips piling up, having a designated space to display these items can prevent clutter and save you time during busy mornings. Imagine easily grabbing that perfect bow to match your child’s outfit without sifting through drawers or boxes filled with tangled accessories.
Customization and Personal Touch
One of the most notable advantages of a DIY bow holder is the ability to customize it to fit your home decor and personal style. You can choose colors, patterns, and designs that resonate with your child’s personality or coordinate with their room. Some popular ideas for customization include:
- Using patterned fabric to wrap a corkboard for a chic look.
- Incorporating wooden frames or repurposed pallets to create a rustic charm.
- Adding decorative elements like ribbons or floral arrangements to enhance visual appeal.
Involving your child in the creation process adds a special touch, making it a bonding activity that can lead to cherished memories. Use their favorite colors or themes to help them feel a part of the project, which may encourage them to take duty for their accessories.
Versatile Storage Solutions
A DIY bow holder offers versatility beyond simply hanging bows. Here are a few practical ways to maximize storage:
| Item | Storage Solution |
|---|---|
| Hair Bows | clip them onto ribbon or hang them from clothespins. |
| Headbands | Use push pins or clothespins on a corkboard. |
| hair Clips | Attach them to a small magnetic strip or decorative box. |
By creatively organizing each type of accessory, you can transform chaos into a beautifully arranged display that doubles as decor. This practice not only makes daily routines smoother but also instills a sense of order in your little one’s space.With all these benefits, it’s clear why parents are leaning towards DIY baby bow holders as a superb way to manage their child’s accessories while adding a personal touch to their décor. Not only does it offer organization, but it also enhances the aesthetic appeal of your child’s room, making it a win-win project for any family.
Choosing the Right Materials: What you Need for Your Project

Essential Materials for Your Project
When embarking on a fun and practical craft like a baby bow holder, selecting the right materials is crucial to the overall success and aesthetic appeal of your project. Whether you’re aiming for a chic look to complement your nursery decor or a playful design for your child’s room, the materials you choose play a significant role.
Here are the key materials you’ll need:
- A Base Board: Wood or canvas provides a sturdy foundation. consider a chic wood frame for a rustic touch or a colorful canvas for a playful feel.
- Ribbons: Choose various widths and colors to accommodate different types of bows. This will not only secure your bows but also serve as a decorative element.
- Hooks or Clips: For a more versatile design, you might want hooks for hanging larger accessories or clips to easily swap out bows.
- Adhesive or Fasteners: Strong glue or a staple gun is essential for securing your ribbons and board elements.
- Paint or Stain: If you opt for a wooden base, adding paint or stain can enhance the look and match your nursery theme.
planning Your Bow Holder Design
Envisioning your final product can help you determine which materials will best achieve your desired outcome. Draw inspiration from your baby’s room decor, or even the style of bows you intend to collect.Many DIY enthusiasts find that browsing fabric and craft stores sparks creativity, allowing them to mix and match materials until they find the perfect combination.
| Material | Purpose | Example |
|---|---|---|
| Wood Board | Base for attaching bows | Pine board, unfinished or painted |
| Ribbons | Display and organize bows | Satin, grosgrain, or printed ribbons |
| Hooks | Secure larger accessories | Wall hooks or decorative nails |
By taking the time to gather the right materials, you’ll set yourself up for a successful DIY Baby Bow Holder project that not only organizes accessories beautifully but also adds a personal touch to your child’s space. Whether you choose to match colors or mix textures, the possibilities are endless, making every bow holder a unique reflection of your style and creativity.
Step-by-Step Guide: Crafting Your Adorable Bow Holder
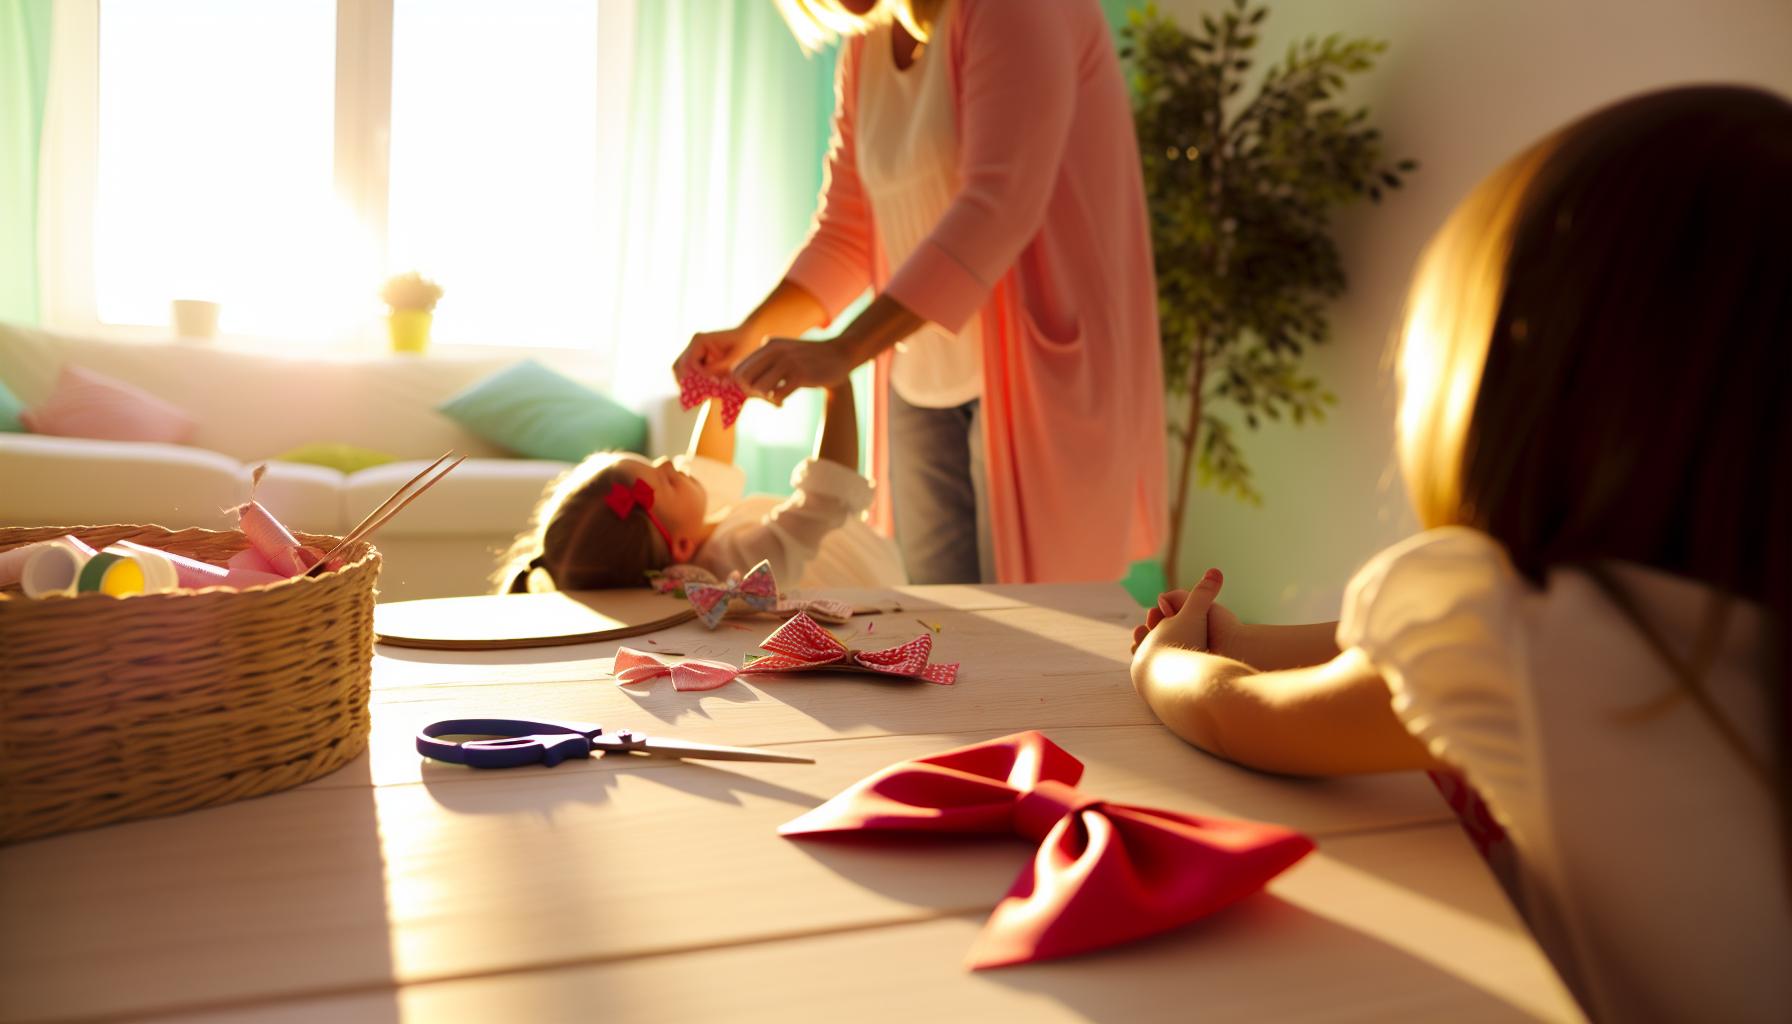
Crafting a charming bow holder not only helps to organize your little one’s accessories but also adds a personalized touch to any nursery or playroom. this delightful project can be customized to reflect your style, making it a perfect DIY endeavor for parents who enjoy hands-on crafting. Whether you’re aiming for a classic look or something more whimsical, the steps below will guide you through the process of creating an adorable and functional DIY baby bow holder.
Gather your Materials
Before diving into the construction of your bow holder, ensure you have all the supplies at hand. Here’s a quick checklist of what you’ll need:
- A wooden board (size can vary based on preference)
- Fabrics or ribbon to cover the board
- Strong adhesive (like E6000 glue) or a staple gun
- Hooks or clips (to hang the bows)
- Decorative items (e.g., paint, washi tape, or stickers)
- Scissors and a measuring tape
Prepare the Base
Start by cutting your wooden board to the desired size. Sand down any rough edges to prevent splinters. After this, you can paint or stain the board in a color that complements your nursery or playroom decor. Allow it to dry fully.
Next, if you’re using fabric, cut it to size, leaving extra material on the edges. Use your strong adhesive or staple gun to secure the fabric around the edges of the board to give it a neat finish. For a more textured look, consider layering different fabrics.If you prefer a clean look without fabric,you can opt for painting directly onto the board.
Add Hooks and Finishing Touches
Once your base is ready, it’s time to install the hooks or clips. Measure evenly spaced points along the board before securing them.This step is crucial; well-placed hooks will not only look appealing but will also hold bows securely.
enhance your bow holder with decorative items. Use paint to add designs or patterns, or attach embellishments like bows or felt flowers for a playful touch. This stage of personalization is what transforms your simple bow holder into a cherished accessory that fits perfectly with your child’s room theme.
By following these steps for your DIY baby bow holder, you create a delightful space to organize all those adorable bows while adding to the decor of your little one’s space. Thus, this project is not just about utility but also about celebrating creativity and personal style in your home.
adding Personal Touches: Customization Ideas to Reflect Your Style

Personalizing Your DIY Baby Bow Holder
Creating a DIY Baby Bow Holder is not just a practical solution for organizing accessories; it’s also an exciting possibility to infuse your personal style into your child’s space. By customizing your bow holder, you can enhance its aesthetic appeal while ensuring it reflects your unique taste and creativity. There are myriad ways to make your project uniquely yours, from choosing the right colors to incorporating sentimental elements.
Color Customization
One of the simplest yet most impactful ways to personalize your bow holder is by selecting colors that resonate with your decor. Consider the following options to elevate your project:
- Pastel Shades: Soft colors can create a gentle and calming atmosphere, ideal for a nursery.
- Bold Colors: Radiant hues can add playful energy, making it perfect for a cheerful space.
- Patterns and Textures: Use patterned fabric or textured paint to add visual interest.
Adding Decorative Elements
Enhancing your bow holder with decorative elements can add both function and flair. Here are some ideas to consider:
- Personalized Name Tags: Adding your child’s name or initials can create a special, personal touch.
- Embellishments: Incorporate ribbons, flowers, or even small figurines that match the theme of the room.
- Interchangeable Components: design with removable hooks or clips, allowing you to change decorations seasonally or as your child’s style evolves.
| Element | Benefits |
|---|---|
| Color Choices | Reflects personal style and harmonizes with existing decor. |
| Decorative Elements | Adds character and can be changed over time. |
| Functional Aspects | Enhances usability while maintaining aesthetic appeal. |
By exploring these customization ideas,your DIY Baby Bow Holder will not only serve as a practical storage solution but also as a gorgeous decorative piece that tells a story of your creativity. Embrace the process and let your inventiveness guide you to create a project that truly reflects your style and personality!
tips for Organizing Hair Accessories: Maximize Space and Efficiency
Maximize Your Space with Clever Hair Accessory Organization
Did you know that properly organizing hair accessories can save you time and frustration during your daily routine? A well-organized space not only looks appealing but also makes it easier to find what you need when you need it. One fantastic way to achieve this is through a DIY Baby Bow Holder, but there are many additional strategies to consider for maximizing your efficiency and space.
- Utilize Vertical space: Consider using wall-mounted systems. A pegboard can house clips, bows, and headbands, keeping them visible and easily accessible.
- Drawer Dividers: If you have drawer space available, invest in drawer dividers to categorize and store different types of hair accessories. This will simplify the search process and reduce clutter.
- Clear Plastic Containers: These containers allow you to see your accessories at a glance. Categorize items by type, color, or size to maintain order.
- Tiered rolling Carts: These are great for those who need portability. A tiered cart can store a variety of accessories and be easily moved around your home.
Creative Storage Ideas for All Styles
In addition to the practical arrangements mentioned, you can enhance your organization style with some creative DIY projects. For example, creating a decorative basket system can add a personal touch while keeping everything tidy. Using different-sized wicker baskets for various accessories and labeling them helps everyone in the household know where things belong.
| Accessory Type | Ideal Storage Solution |
|---|---|
| Headbands | Wall-mounted holder or over-the-door rack |
| Hair Clips | Clearly labeled plastic containers or tray |
| Hair Bows | DIY bow Holder with clips or a decorative ribbon |
| Scrunchies | Stackable containers or drawer dividers |
By implementing these organization tips, inspired by the DIY Baby Bow Holder concept, you can create a space that is not only efficient but also delightful to look at. Whether you prefer a minimalistic approach or a more decorative style, the key is to develop a system that works for you and makes accessing hair accessories a breeze.
Creative Display Ideas: Show Off Your Baby’s Bow Collection
Transform Your Baby’s Bow Collection into a Stunning Display
Did you know that showcasing your baby’s hair accessories can enhance the beauty of their nursery while keeping things organized? Creative display ideas not only serve a functional purpose but also add a charming decorative element to your home. A well-designed bow holder can turn a simple necessity into a delightful feature that sparks joy every time you enter the room.
one effective way to display your baby’s bow collection is through a wall-mounted bow holder. consider using materials like wooden boards or fabric-wrapped foam to create a visually appealing backdrop. Simply attach ribbons or hooks to hold the bows in place. This DIY Baby bow Holder can be customized to fit your nursery’s theme; paint it in soft pastel shades or decorate it with whimsical patterns, ensuring it’s a perfect match for your decor.
Another innovative idea is to repurpose items around your home. As an example, using a vintage picture frame to create a chic bow display can be a fantastic conversation starter. Remove the back of the frame and stretch some wire or string across it to hang the bows. This not only keeps your bows organized but also allows you to effortlessly change out the collection as your baby grows and their style evolves.
- Wall-mounted organizers: Use a wooden board with hooks or ribbons.
- Picture frame displays: transform an old frame into a functional art piece.
- Hanging baskets: Use fabric containers that can be easily labeled.
- Macramé hangers: Incorporate trendy macramé designs for a boho touch.
By combining functionality with creativity, you can create a beautiful display that not only organizes accessories but also showcases your baby’s unique style. Whether you’re inclined towards DIY projects or prefer quick assembly solutions,these ideas will help you find the right approach for displaying your precious collection. Let your creativity flow, and don’t hesitate to involve your little one in choosing styles and colors that suit their personality!
When to Make This Project: Finding the right Time for DIY Fun
timing is Key for DIY Projects
Embarking on a DIY project not only brings a sense of accomplishment but is also a wonderful opportunity to bond with your little one. The DIY Baby Bow Holder is an engaging way to create a functional piece for organizing hair accessories while adding a touch of personalization to your baby’s nursery. Timing your craft sessions can enhance the experience, making it not just about the end product but also about the joy of creating.
Consider scheduling your DIY session during your baby’s nap times or after bedtime when you can focus without distractions. This allows for a peaceful crafting environment where you can channel your creativity. Additionally, weekends when you might have more free time can be perfect, as you can take the opportunity to involve family members to make it a fun activity. Engaging in DIY projects as a family can foster creativity in older siblings, providing them with a hands-on experience that fortifies family bonds while also contributing to your baby’s space.
Finding Motivation Through Milestones
Another great time to tackle the DIY Baby Bow Holder project is during special milestones, like birthdays or holidays. Celebrate these moments by crafting something meaningful that can be a part of your family’s traditions. As a notable example, making this organizer around a major life event, such as your baby’s first birthday, allows you to not only craft but also reflect on the precious memories associated with growing hair accessories over the first year.
If you’re looking for an easier way to gather materials and plan your craft time, consider creating a calendar. Here’s a simple table to visualize the ideal times to start your project:
| When | Reason |
|---|---|
| Naptime | Quiet crafting time |
| After Bedtime | No distractions |
| Weekends | Involve family |
| Special occasions | Create meaningful traditions |
finding the right moment to create your DIY Baby Bow Holder can turn the process into a cherished memory. By timing your crafting sessions wisely and aligning them with milestones or family moments, you not only organize your baby’s accessories but also enrich your family life with creativity and love.
Troubleshooting common DIY Problems: Expert Solutions and Advice
Creating a DIY baby bow holder can be an incredibly rewarding project, yet it often comes with its own set of challenges. From materials that don’t cooperate to design mishaps, knowing how to tackle these issues can make all the difference.Here are some common problems and expert solutions to help you successfully complete your DIY Baby Bow Holder: Organize Accessories with this Adorable Project.
- Materials Not Sticking: If your adhesive isn’t holding, ensure you’re using the right type for the materials involved. For instance,a hot glue gun works well for fabric and lightweight items,but industrial-strength adhesive may be required for heavier materials. Always allow sufficient drying time to ensure bonds are effective.
- Uneven Display: If your bows or headbands appear uneven when displayed, take the time to measure and mark where each item will hang. Using a level while installing your bow holder can help maintain a straight line,creating a more aesthetically pleasing arrangement.
- Storing Different Sizes: For various bow sizes,consider installing multiple rows or using different sizes of dowels or hooks to accommodate them. This allows you to keep everything organized without crowding, ensuring your DIY Baby Bow Holder remains functional and attractive.
| Problem | Solution |
|---|---|
| Materials Not Sticking | Use appropriate adhesive and allow for proper drying time. |
| Uneven Display | Measure, mark, and use a level when installing. |
| Storing Different Sizes | Implement multiple rows or varying hook sizes for organization. |
By addressing these common issues proactively, you can enjoy a smoother crafting experience and proudly showcase your beautiful DIY baby bow holder. Don’t hesitate to reach out to online communities or resources for additional tips and inspiration.
Faq
What is a DIY Baby Bow Holder?
A DIY Baby Bow Holder is a charming, handmade organizer designed to store and display your baby’s hair bows and accessories. This project not only helps keep your little one’s accessories tidy but also adds a personal touch to their nursery.
Creating a DIY Baby Bow Holder involves using materials like fabric, dowels, or wooden frames. You can customize it to match your nursery decor. This adorable project is perfect for parents looking to organize their child’s accessories while enjoying a fun crafting experience.
How can I make a DIY Baby Bow Holder?
You can create a DIY Baby Bow Holder by following simple steps. Start with a base, like a wooden board, and decorate it. Add dowels or hooks to hang the bows,securing everything with glue or screws.
For detailed instructions, you might explore suggestions from various sources, including cutting dowels, drilling holes, and adding decorative twine. This ensures that your design is personal and functional for organizing bows effectively. you can find a complete guide [here](https://youcandiyblog.com/diy-hair-bow-holder/) for further assistance.
Why should I make a DIY Baby Bow Holder?
Making a DIY Baby Bow Holder allows you to personalize your child’s space while effectively organizing their accessories. It’s an opportunity to showcase your creativity and provide a clutter-free environment.
Crafters often find joy in making unique items for their children. This project can be a fulfilling way to bond with your little one, creating a bright and pleasant area in their nursery with your handmade touches!
Can I customize my DIY Baby Bow Holder?
Yes, you can easily customize your DIY Baby Bow Holder with colors, patterns, and themes that match your nursery decor. Use fabrics, paint, or embellishments to create a one-of-a-kind piece.
Personalizing the bow holder not only serves to organize but also enhances the aesthetic of the room. Don’t hesitate to let your imagination flow—add favorite quotes or images that resonate with your family!
What materials do I need for a DIY Baby Bow holder?
For a DIY Baby Bow Holder, you typically need materials like a wooden board, dowels or hooks, paint, fabric, scissors, and glue. Depending on your design,ribbons or decorative paper can also add flair.
Gathering these materials will prepare you for a fun and engaging craft session. You can often find these items at craft stores or even repurpose materials from around your home for a unique touch.
How do I hang my DIY Baby Bow Holder?
You can hang your DIY Baby Bow Holder using wall anchors and screws, or adhesive hooks depending on the weight of your holder. Ensure it’s at a height that is easily accessible.
Consider placing it near a changing table or dresser where you most often use the accessories. This will make organizing and grabbing bows quick and effortless.
Where can I find design inspiration for a DIY Baby Bow holder?
Looking for design inspiration? Websites like Pinterest or DIY blogs offer a wealth of ideas for your DIY Baby Bow Holder. You’ll discover color schemes, layouts, and crafting techniques.
Explore these platforms to gather ideas and create a design that reflects your personal style. You can also check out a collection of creative bow holder DIY ideas on [Pinterest](https://www.pinterest.com/pin/12-pretty-creative-bow-holder-diy-ideas–682999099755027739/).
Closing Remarks
Creating a DIY baby bow holder not only adds a charming touch to your child’s room but also provides a practical solution for organizing those adorable accessories. By following simple steps, like using a corkboard wrapped in fabric for headbands or utilizing an IKEA hack to mount a bow organizer on the closet door, you can keep everything neat and easily accessible <a href=”https://www.reddit.com/r/NewParents/comments/r3ct66/whatareyourhacksandstorageideasforbows/”>[1[1] [2[2].Engaging in this project can also be a wonderful bonding experience as you personalize the bow holder to match your nursery’s decor.
We understand that keeping track of tiny accessories can sometiems feel overwhelming, but with a little creativity and effort, you can transform clutter into a delightful display. Don’t hesitate to explore these ideas further and find the perfect project that speaks to you. Your child’s hair accessories deserve a special place,so let’s embrace your creativity and make organizing both functional and fun! For more inspiration,dive deeper into these DIY projects and let your imagination flourish!
Get our latest guides, news, and insights highlighted in your Google Search & AI Overviews.